Blow-Drying Right: Heat Protection, Technique & Mistakes
5 min read Care know-how Updated 8 August 2026
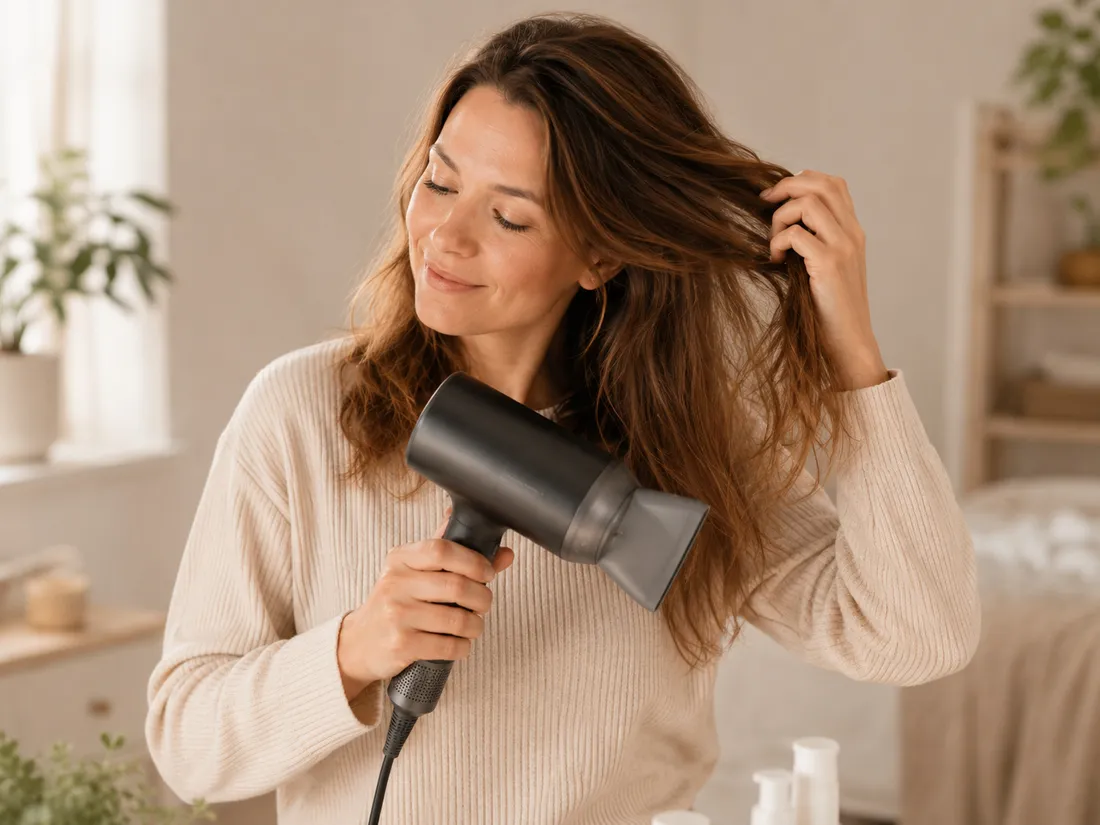
Gentle blow-drying does not depend on temperature alone. Distance, airflow, duration, brush tension and a product expressly suited to heat all decide together how hard the hair is worked. Think of these factors as one system and you dry faster, more gently and with visibly suppler results, whether you are smoothing, want volume or define curls. This guide shows you the base technique and three variations you combine depending on your goal.
Preparing your hair
Good blow-drying starts before the dryer is even running. After washing, press your hair into a soft towel instead of rubbing it dry, because wet hair is mechanically fragile and friction against the towel encourages frizz and fine breaks. Then detangle the lengths with a wide-tooth comb, working from the ends upward, not from top to bottom.
After that, let the hair air-dry a little, or dry it on a low setting, before full heat comes into play. Very wet hair takes the longest and catches the most hot air; slightly pre-dried hair noticeably shortens the hot phase. Then split the hair into clear sections, so you dry each strand deliberately instead of criss-crossing, no area gets forgotten, and drying time drops. Whether air-drying is the better choice for your hair is covered in the guide to air-drying versus blow-drying.
Order: leave-in, heat protection and styling product
Before blow-drying, the products build up in a fixed order, from water-based and light through to shaping. That way no layer works against another:
- Leave-in first. Into towel-damp hair goes a light, water-based care product such as the Restore™ Leave-In Conditioner. It adds moisture and improves combability before heat enters the picture, the base everything else sits on.
- Then the heat protection. A product expressly designed for heat lays a fine film around the hair, spreads the warmth more evenly and, along the way, reduces friction while brushing, not an oil that was really meant for sealing. The Studio One™ Thermal Protect Shield is worked evenly into the lengths and ends, everywhere heat will later reach.
- Lastly the styling product depending on your goal (see below).
A heat protectant belongs with every blow-dry, not just on the highest setting. Which base care and which heat protection suit your hair's condition is settled in a few minutes by the free hair analysis. For more background on choosing products, see the guide to heat protection for hair.
As the shaping layer, a styling product goes on top depending on your goal. Always apply it before blow-drying, so the heat shapes the form right along with it:
- Smooth, tamed finish: the Smoothing Anti-Frizz™ Blow-Dry Spray combines blow-dry styling and frizz control.
- Shape without a hot tool: the Studio One™ Blow-Dry Cream gives the hair suppleness, even when air-drying.
- Volume: the Studio One™ Volume Spray or the Studio One™ The Moxie™ Volume Mousse.
- Defined curls: the Curl Perfection™ Curl-Defining Cream or the Curl Perfection™ Gelée.
Technique for smooth hair
For a smooth result you work with tension and direction. Place a round brush at the roots, keep the strand under light tension and guide the dryer just behind the brush. What matters is the airflow direction: dry from the roots toward the ends, with the cuticle. That way the surface lies flat, the hair reflects more light and looks shinier; against the direction of growth you get the opposite, dull and lifted hair.
Do not hold the dryer statically on one spot, but keep it constantly moving and at a little distance. A medium heat setting is usually enough; higher temperature does not dry more gently, it only stresses more. If a section feels dry, move on, because extra drying brings no benefit. To finish you can optionally use the cool setting: as it cools, the shape stabilizes, the result lasts longer, all without extra heat. How to tell whether heat has already left its mark is covered in the guide to recognising heat damage.
Technique for fine hair and more volume
Fine hair loses its stand-up most of all at the roots. The most effective move is therefore to dry the roots against their later fall direction: tip your head forward or dry individual sections lifted, so the roots dry standing upright. Only once the roots have volume do you lay the lengths in their actual direction.
With fine hair, less is more, because heavy creams quickly pull the roots flat. A light Studio One™ Volume Spray at the roots, or a little Studio One™ The Moxie™ Volume Mousse into towel-damp hair, gives grip without weighing hair down. Work in thin sections with a medium-diameter round brush; strands that are too thick dry on the outside, stay damp inside and then quickly collapse again. The cool setting at the end fixes the volume further. For more on routine and care for fine hair, see the guide to fine hair and volume.
Diffuser technique for curls
Curls tolerate the straight airflow of a nozzle badly; it tears the structure apart and creates frizz. Take the diffuser attachment instead, which spreads the air and lets the curl keep its shape. Beforehand, work the Curl Perfection™ Curl-Defining Cream or the Curl Perfection™ Gelée into wet hair, so the curls define before heat is added.
Cup the curls into the diffuser and guide it from below up to the scalp, without combing through with your fingers, because every movement loosens the curl and makes it frizzy. Work on a low to medium setting and, better still, let the hair air-dry a little before you bring in the diffuser. Touch the curls as little as possible until they are dry. More on curl care is in the guide to caring for curls and waves.
Quick notes by hair type
The base technique stays the same, only product amount, heat and focus shift:
- Fine hair: light textures, little product, dry the roots against the fall direction and fix with the cool setting. Heavy creams pull the roots flat.
- Curly hair: diffuser instead of nozzle, low to medium setting, define beforehand with a curl product and barely touch it while damp.
- Frizz-prone hair: dry it fully (half-dry hair frizzes back the most), work consistently with the cuticle, and use a smoothing finish like the Smoothing Anti-Frizz™ Blow-Dry Spray. Then brush over it as little as possible afterwards.
- Stressed hair: lower heat, more pre-air-drying and generous heat protection. Better a bit longer on a mild setting than briefly on a hot one, and the cool setting at the end protects further.
Common blow-drying mistakes
- Blow-drying without heat protection, or repurposing an oil that is not meant for heat at all.
- Set too hot: high temperature does not dry more gently, it only stresses more.
- Holding the dryer too close and static on one spot, instead of at a distance and moving.
- Drying against the direction of growth, which lifts the cuticle and dulls the hair.
- Starting on soaking-wet hair, instead of letting it pre-dry first.
- Using the nozzle on curls instead of the diffuser.
- Taking sections too thick: they stay damp inside and quickly collapse.
Quick questions
Do I need heat protection every time I blow-dry?
Yes. Even medium heat acts on the hair anew with every styling, and the protective film also reduces friction and frizz. So it belongs with every blow-dry, not just on the highest setting.
When do I apply blow-dry cream?
Into towel-dried, still-damp hair, before you blow-dry or air-dry, spread evenly through the lengths and ends. That way the warmth can shape the form directly, rather than just coating an already-dry result.
How do I blow-dry fine hair with more volume?
Dry the roots against their later fall direction, head forward or sections lifted, and work in thin strands. A light volume spray or mousse gives grip without weighing hair down; the cool setting at the end fixes the lift.
How do I use a diffuser without frizz?
First define the curls with a curl product, cup them into the diffuser and guide it from below up to the scalp. Do not comb through, and only touch the curls once they are dry, because every movement while damp makes them frizzy.
Find out how much heat your hair can take: the free Glow Tribe hair analysis takes into account whether you smooth, want volume or define curls, and a personal consultant puts together a routine for you, complete with the right heat protection and the correct styling steps.